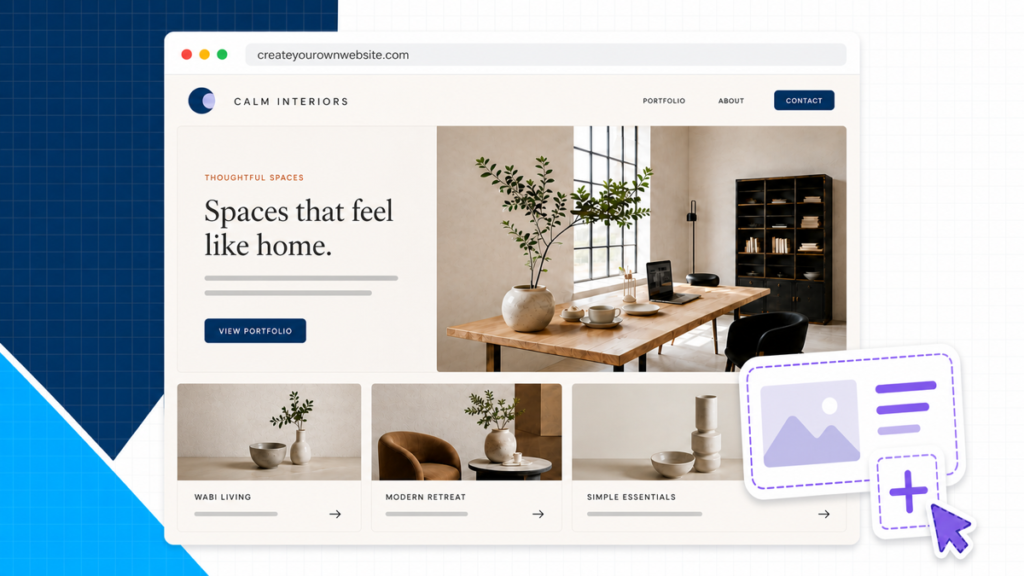
Google “how to make a website” and you'll get buried in terms like HTML, CSS, hosting, domains, and SSL before you have written a single word of your own. Don't worry though because complete beginners can build a real, professional website without learning to code first.
Quick answer: Get hosting and a domain, install WordPress, import an Astra starter template, replace its demo content in Elementor, add the pages your site needs, test the menu, form, and mobile layout, then connect the domain. The seven steps below show each checkpoint and route you into a complete Business, Portfolio, Blog, or Store guide when you are ready to build.
If you already know you’re building a business site, portfolio, blog, or online store, skip to the What Type of Website Are You Building section below, and go straight to your guide. If you want the full picture first, keep reading.
Prefer to watch it instead? Here’s the video walkthrough.
Do not pick a builder before you know the site type. A blog, store, portfolio, and local business site have different requirements. Use the quiz later in this post, then follow the matching guide.
The Complete Steps to Create a Website
Here’s the entire process, start to finish, in the order you’ll do it:
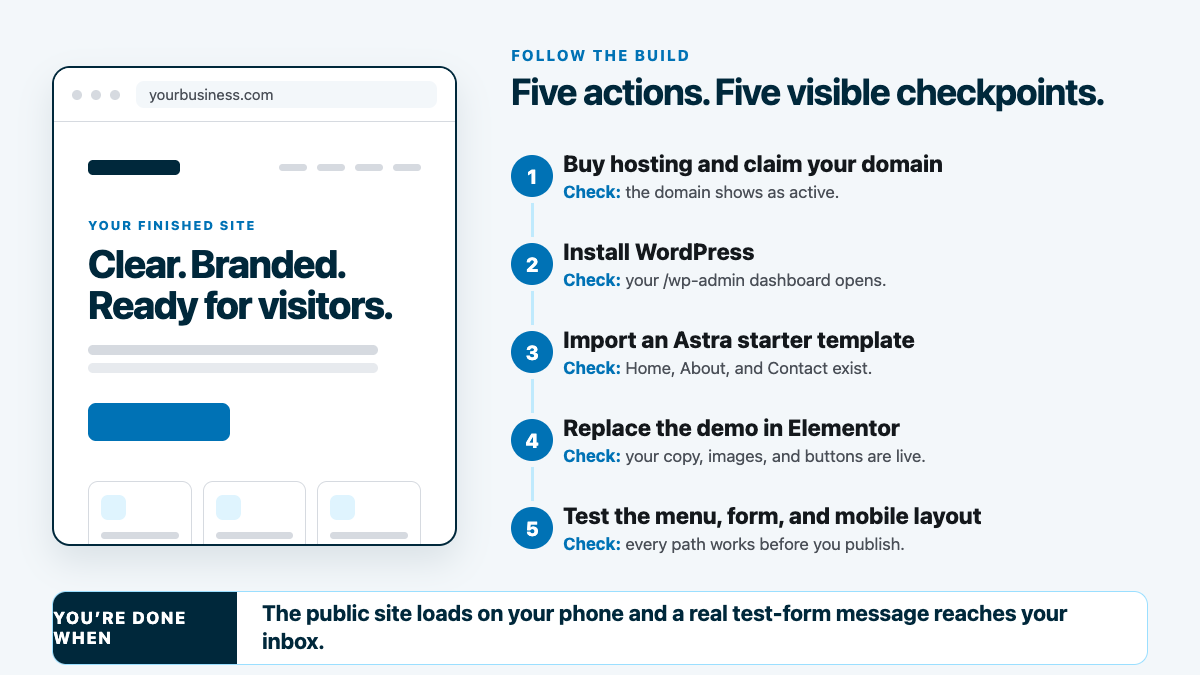
- Get hosting and a domain. Hosting is the server your site lives on; your domain is the address people type to find it.
- Install WordPress. Most hosts, including Hostinger, do this in one click during signup.
- Choose a theme and starter template. A theme sets your site’s foundation; a starter template gives you a pre-built layout so you’re not starting from a blank page.
- Build your homepage with a page builder. Elementor is the one we use and recommend: drag-and-drop editing, no code required.
- Add your other pages. About, Services or Shop, and a Contact page are the three almost every site needs.
- Set up navigation and check mobile. Menu, logo, and a pass on your phone before anyone else sees it.
- Connect your domain and launch. Point your domain at your hosting and you’re live.
Step 1: Get Hosting and a Domain
Hosting is the land your website sits on; your domain is the address on the mailbox. I use Hostinger for every site I build. It keeps the hosting, domain, SSL, backups, and WordPress setup in one beginner-friendly flow.
Before you buy hosting, decide whether you are building on WordPress or a closed builder. We prefer WordPress because it gives a growing site control over themes, plugins, files, and SEO. Once that choice is made, compare the plan itself instead of getting distracted by every add-on on the checkout screen.
Choose the smallest plan that covers the sites you expect to build. You can upgrade later. After checkout, Hostinger moves directly into the guided setup, including the domain that people will type to reach the site.
Before registering the domain, read it aloud, check the spelling, and make sure it still fits the brand a year from now. For a more complete look at hosting options, use our web hosting comparison.
Step 2: Install WordPress
WordPress is free, flexible, and compatible with the themes, plugins, and page builders a beginner site is likely to need. Use self-hosted WordPress.org for this path, not WordPress.com. Hostinger installs it during the guided setup, so you don't have to upload files or create a database by hand.
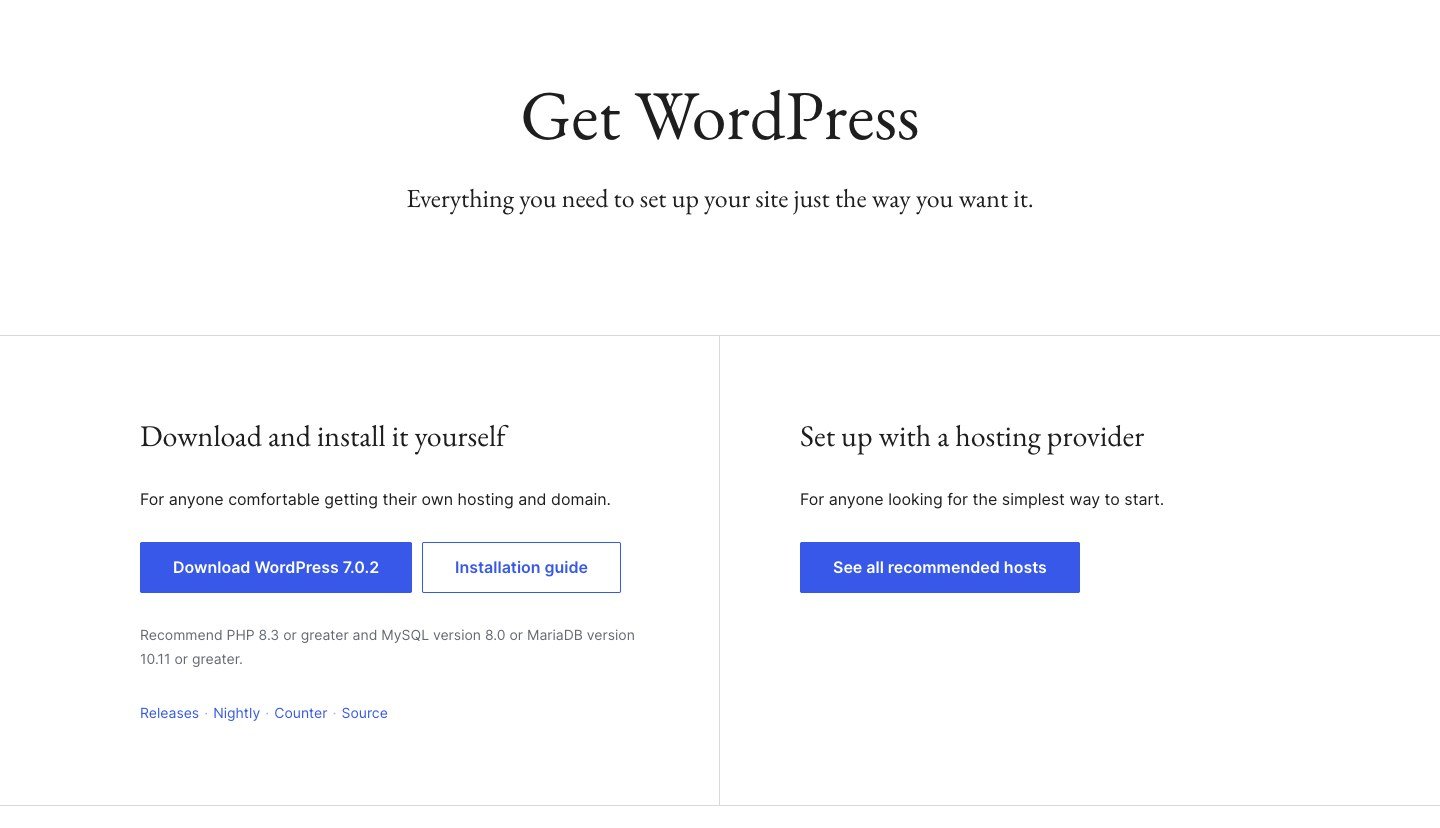
Inside Hostinger's setup, choose WordPress as the builder. Create the administrator login you'll use for the site, skip the AI builder and preselected template choices, and start with a blank WordPress install.
When installation finishes, sign in at yourdomain.com/wp-admin. The first screen should be the WordPress dashboard, with Pages, Posts, Appearance, and Plugins in the left menu. That's the checkpoint that tells you the site itself is ready.
Your new domain may still be propagating while Hostinger shows a temporary address. Keep building inside WordPress; the permanent domain replaces the temporary one after the connection finishes.
WordPress vs. Website Builders
Self-hosted WordPress trades a little setup time for ownership, plugins, and SEO control. Hosted builders trade flexibility for speed on day one.
| Our path WordPress (self-hosted) | Hosted builders | |
|---|---|---|
| Overall rating | ||
| Time to first publish | Longer setup | Fastest |
| Plugin / extension ecosystem | Full | Limited |
| Best for | Long-term business sites | Design-first brochure sites |
Swipe to compare more options. WordPress (self-hosted) stays pinned.
This guide follows WordPress + Elementor; use a builder if you want zero hosting decisions upfront.
Step 3: Choose a Theme and Starter Template
Astra is the theme I default to. It's lightweight and comes with starter templates built for Elementor. Pick a layout close to what you are building and you can edit a real site in minutes instead of staring at a blank canvas. Start with a professional structure, then make it yours is the “work smarter, not harder” principle I build every site around.
Activation is only the foundation. In the next screen, choose Classic Starter Templates, confirm Elementor as the page builder, and filter for the kind of site you need. A close structural match matters more than finding the perfect colors or demo photos because you'll replace those next.
Whatever theme you land on, weigh speed as heavily as looks. GeneratePress and Kadence are also lightweight options, but the useful checkpoint is the same: the imported template should give you real Home, About, and Contact pages that you can edit without rebuilding the structure from scratch.
Step 4: Build Your Homepage with a Page Builder
Elementor is a visual page builder. Click any piece of the starter template and edit it directly, including text, images, colors, buttons, and spacing. Start at the top of the homepage and replace demo content one section at a time. If you want the complete controls walkthrough, use our Elementor tutorial.
Put most of your effort into what a visitor sees before scrolling. Begin with one clear headline, a short explanation of what you do, and a single obvious button. Then replace every demo image and link. Don't leave a polished template section in place if it describes someone else's business.
Step 5: Add Your Other Pages
Your homepage introduces you. Your other pages help people trust you and take action. For a first launch, build a real About page, a Contact page, and the one page that matches the site's goal, such as Services, Shop, Portfolio, or Blog. A contact form isn't finished until you know where its messages go.
Save the notification setting, publish the Contact page, and submit the form yourself in a private browser window. Confirm that the success message appears and the email reaches the correct inbox. That one test is more valuable than another hour adjusting the form's colors.
Don’t overbuild your first pages. Homepage, About, Contact, and whatever page matches your goal (Services, Shop, Blog) is enough to launch. You can always add more once the site is live.
Step 6: Set Up Navigation and Check Mobile
Your menu is how people find everything else on the site. Keep the primary navigation short, put the most important pages first, and use a submenu only when it makes the choices easier to scan. Remove leftover template pages instead of hiding them behind vague labels.
After the menu is in the order you want, open the homepage in Elementor and switch through desktop, tablet, and mobile. Responsive preview lets you change phone-specific typography, spacing, and image behavior without undoing the desktop layout.
Use the preview as a first pass, then load the public page on a real phone. Tap every menu link, read the hero without zooming, and submit the form. If the page feels slow, oversized images and unnecessary plugins are the first places to look.
Step 7: Connect Your Domain and Launch
Once the pages, navigation, form, and mobile layout work, publish the final edits and connect the permanent domain if it's not already active. Use WordPress Preview to open the finished page outside the editor, then check it again as a visitor in a private browser window.
DNS changes can take anywhere from a few minutes to 24 hours to propagate, so don't panic if the domain doesn’t load immediately. Once it is live, connect Google Analytics and Search Console with our Google Analytics guide. The build is complete when a visitor can load the public site on a phone, reach every primary page, and send a real form submission to your inbox.
What Type of Website Are You Building?
The steps above apply to every website. But the details, like what pages you need, what to put on them, and how to make money from it, change completely depending on what you’re building. That’s why each type gets its own full, dedicated guide instead of one page trying to cover everything:
Business Website
For service businesses, local shops, consultants, and anyone whose site needs to actively bring in clients or customers, not just exist. The business guide is fully self-contained and walks through:
- Writing a Services page that sells the outcome, not just a list of what you do
- Trust signals such as testimonials, reviews, and social proof placed where visitors will read them
- Local SEO basics like your Google Business Profile, NAP consistency, location-aware title tags
- Setting up and testing a working contact form
If you’re already getting inquiries by phone or DM and just need a real web presence to point people to, this guide gets you there in one sitting.
Portfolio Website
For designers, photographers, writers, and anyone whose work needs to be seen to get hired or booked. The portfolio guide covers:
- Adobe Portfolio vs. WordPress, and why most people outgrow the former
- Building a work gallery: image compression, lightbox setup, category filters
- Structuring case studies as brief → challenge → solution → result
- An About page and inquiry CTA built to get you contacted, not just admired
Think of this page as your best work doing the talking for you before a client or employer ever picks up the phone.
Blog
For anyone writing consistently, whether that’s a hobby, a niche site, or a content business you plan to monetize. The blog guide covers:
- Picking a lane (e.g. travel, food, personal, educational, or niche), and why owning your platform beats Medium or Substack
- Posts vs. Pages, categories, and permalink setup done right from day one
- SEO basics such as Rank Math, title tags, and getting indexed via Search Console
- Building an email list from your first post, and the real monetization paths (AdSense, affiliates, digital products, sponsorships)
The advantage of starting now instead of later is compounding. An article you publish today can keep bringing in readers years from now. This is something a social post rarely ever does. It can happen, sure. But, it's incredibly uncommon.
Online Store
For anyone selling physical products, digital downloads, courses, or memberships, dropshipping included. The store guide covers:
- A fee comparison across Etsy, Amazon, Shopify, and WooCommerce so you know what you’re paying
- WooCommerce setup: products, categories, variations
- Payments (Stripe + PayPal) and shipping zones, set up and tested
- Dropshipping, courses (LearnDash/LifterLMS), and membership sites, if that’s the direction you’re headed
Even a small handful of products is enough to start. You can always expand the catalog once you see what’s selling.
Still Not Sure? Take the Quiz
If none of the four above is an obvious fit yet, answer a few quick questions below and I’ll point you straight to the guide that matches what you’re building.
Stepping back from the interactive picker, here's the honest trade-off summary.
Platform choice
Website Builder vs. WordPress
Start with a hosted builder if
- You want the fastest day-one launch Squarespace/Wix get a polished site live with less setup.
- Design is the whole product Template-first builders shine for portfolios and brochure sites.
Choose WordPress if
- You want full ownership long-term Self-hosted WordPress keeps your files, data, and plugins portable.
- You will grow past a simple site Stores, memberships, and SEO plugins scale cleaner on WordPress.
What Happens After You Click Publish
Hitting “Publish” isn't magic. It's just WordPress writing your page to the database and making it public. Your domain can take anywhere from an hour to 24 hours to fully propagate, so don't panic if it doesn't load the second you connect it, or if wp-admin still shows a temporary URL up top while the rest of the internet catches up. Keep building pages and menus in the meantime; your real domain replaces the placeholder automatically once nameservers finish updating.
Once it's live, open the site in a private browser window rather than the one you're logged into. Logged-in admins see an admin bar and cached previews that visitors never get. Check every page on mobile width, click every menu link, and submit a test form if you have one; broken links at launch are almost always copy-paste slugs, not hosting problems.
Settings Worth Locking In During Week One
A handful of settings are far easier to fix now than after the site's been live for months. Switch permalinks to post name structure under Settings, plain ?p=123 URLs hurt readability and click-through in search results, and it's a two-minute change you only ever have to make once.
Turn on whatever backup tool your host provides and export a copy before major plugin updates (our WordPress backup guide covers this if your host doesn't make it obvious); one bad update can white-screen a site, and a backup turns that into a ten-minute rollback instead of a reason to panic. Comments, pingbacks, and user registration can stay off by default until you want community features, fresh WordPress installs are a magnet for spam bots the moment forms go live.
Get Google Analytics and Search Console connected the same week you launch (our Google Analytics guide walks through setup), even at zero traffic. Search engines won't flood you with visitors overnight, but submitting a sitemap and verifying early means you have historical data the moment something does start moving, instead of wondering six months from now why a post suddenly ranked or dropped.
Write down your admin login, host login, and domain registrar somewhere in a password manager while you're at it. You'll be glad you did the next time a renewal email lands in spam and the site needs a DNS fix at 9 p.m.
Picking Hosting Without Overthinking It
For a first site on WordPress, shared hosting from a reputable company beats agonizing over spec sheets. You need SSL, one-click WordPress install, and a support channel you can reach when setup gets confusing. Dedicated servers and cloud clusters are for traffic spikes you do not have yet. Match the hosting to your builder choice too: self-hosted WordPress needs PHP, MySQL, and room for plugins, while closed builders like Squarespace bundle hosting into the subscription (our Squarespace tutorial covers that path if you want zero server decisions).
Read the renewal pricing before you get excited about the intro rate. Year-one discounts are real savings, but budget for the year-two bill, and weigh cancel-anytime terms more heavily than a free domain you might never transfer.
We maintain a Hostinger review and a broader best web hosting roundup because beginners ask the same question every week: is cheap hosting going to bite me? Good shared hosts invest in caching and support. The bad ones overload servers and ghost you on tickets.
When in doubt, pick the host that makes installing WordPress boring because boring onboarding usually means you spend the weekend on content and design instead of FTP credentials. You can always migrate to something more powerful later once revenue justifies it.
Install only the plugins you need this week. Our best WordPress plugins roundup has our real picks for SEO, forms, and caching, Starter Templates and Elementor come later in the Elementor guide. Every plugin you add is another update to track and another compatibility test after a PHP upgrade, so keep the count lean, especially while you're still learning the dashboard.
Still comparing platforms entirely? Use the website builder comparison to weigh the options, then follow the WordPress path in this guide once you know you want ownership and plugins long term.
Once you've seen the full build on screen, here are the questions people ask most.
Frequently Asked Questions
How long does it take to create a website?
For a simple site (homepage, About, Contact), a full afternoon is realistic once hosting and WordPress are set up. A more complete business or store site with several pages usually takes a few days to a week of focused work, mostly spent on content and page-builder details rather than technical setup.
How much does it cost to create a website?
Your unavoidable costs are hosting and the domain once its free introductory period ends. WordPress, Astra, and Elementor all have free versions that cover this beginner path. Check the host’s renewal total before checkout, then treat paid themes and plugins as optional upgrades rather than launch requirements.
Do I need to know how to code?
No. WordPress plus a page builder like Elementor is entirely drag-and-drop: you click elements and edit them directly. Coding knowledge helps for advanced customization later, but it’s not required to build and launch a complete site.
What's the difference between WordPress.com and WordPress.org?
WordPress.org (self-hosted, what this guide covers) gives you full control over your own hosting, any theme, any plugin. WordPress.com is a hosted service with more restrictions unless you pay for higher tiers. Self-hosted WordPress.org is what we recommend for anyone building a real business or brand site.
Which page builder should I use?
Elementor is what we use and teach throughout this site. Its free version covers the editing tools used in this beginner path, and the surrounding tutorials use the same controls. See our builder comparison if you want to weigh other options first.
What if I don't know what type of website I need?
Start with the four focused guides: business website, portfolio, blog, or online store. Choose the one that matches the main job your website needs to do.
The mechanics of building a website (hosting, WordPress, a page builder) are the same for everyone. What changes is everything downstream of that: your pages, your content, and how the site makes you money or gets you hired. That’s the part each dedicated guide above is built to cover in full, so pick the one that matches what you’re building and follow it start to finish.