To build a website with GPT-6 Astra, give it a clear business brief, a small set of brand assets, and one specific visual reference. Build the first version, inspect it in a browser, make focused revisions, then deploy it to hosting that matches the project. The prompt starts the work. Testing is what turns the result into a website you can share.
In this tutorial, we’ll follow my space-travel website build for a fictional company called Astraea. You’ll see how the interactive planet hero, branding, and page sections came together, plus the checks to make before using the same workflow for a real business. A beautiful booking button is still only a demo until it connects to a working booking process.
The full video shows the October 6 build. The short demonstrations below come from that recording. Use them to follow the sequence; account screens, plan limits, and connector names may change. This written guide also separates the design demo from the hosting, security, and form checks a public site needs.
1. Get the tools you actually need
Start with access to GPT-6 Astra and the website-building workspace shown in the tutorial. Check the model and tools available in your account before buying anything. OpenAI’s current plan and usage guide is the place to verify access and limits. The video uses a paid ChatGPT plan; available models and usage limits belong to your current plan, not to a promise made by an older tutorial.
Higgsfield is optional. I use it in the recording to generate the space imagery, but you can supply your own photographs, illustrations, and licensed graphics instead. If you choose the integration, review its current integration requirements and usage terms, connect the intended account, and check what access you are granting. You don’t need two image subscriptions just to follow the structure of this build.
Node.js is a separate decision. It runs JavaScript tools and may be needed to build or deploy your project. It does not connect a domain by itself. A static export can live on ordinary static hosting; an app that needs a Node.js server requires hosting that supports that runtime. Ask the builder which kind of project it created before choosing a plan.
Keep the first project small: one page, one audience, one main action. Add accounts, payments, or live booking only when you are ready to build and test those systems.
For a service business, that main action might be requesting a quote. For a portfolio, it might be viewing your work and contacting you. Our business website guide helps you choose the pages and information before you worry about animation.
2. Prepare the brand and the visual direction
In the video, I start with a company name, a logo, a color scheme, and an idea for the hero section. Those decisions give the builder something concrete to work with. “Make it look premium” leaves almost every useful choice unanswered.
- Write down the business name, audience, offer, and main button action.
- Put your logo and brand colors in a dedicated project folder. Use a transparent logo file when it needs to sit on different backgrounds.
- List the page sections and the real information each one needs.
- Choose one or two visual references. Describe the spacing, mood, or interaction you like; don’t ask for another business’s site or copyrighted artwork to be copied.
The Astraea example uses a dark space palette and a hero where visitors browse planets. That is a specific interaction we can evaluate. For your business, an image gallery, product comparison, or simple before-and-after slider may be more useful than a 3D scene.
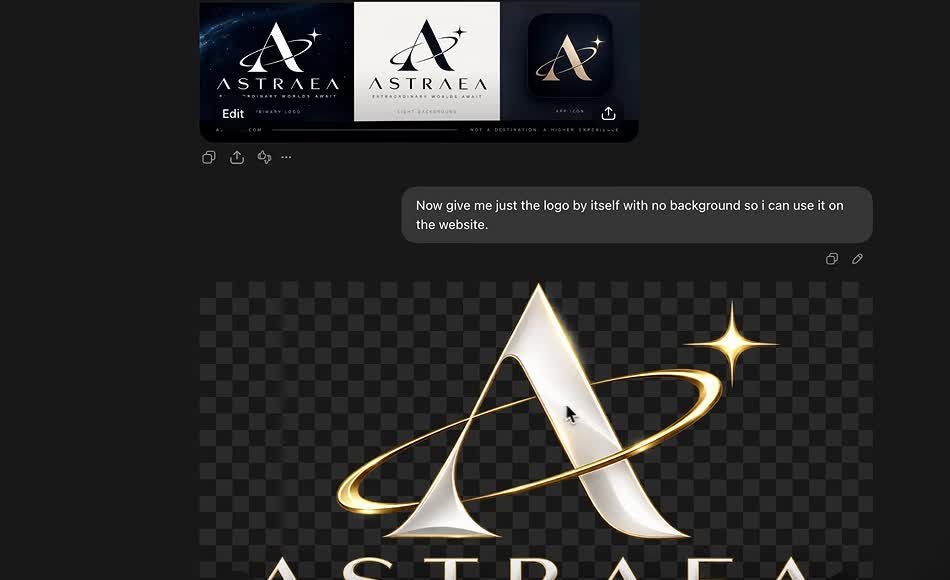
Keep the files tidy. Use names such as logo-transparent.png, brand-colors.txt, and hero-reference.jpg. Give the project access to this small folder instead of your entire Documents folder. You can add another asset later if the build needs it.
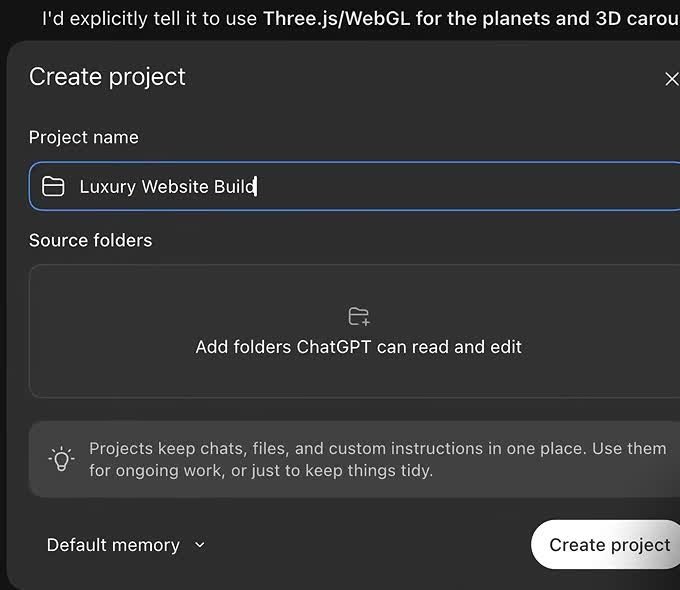
3. Create the project and write a useful build prompt
Create a dedicated project, attach the brand folder, and open a new build chat. In the recorded interface, I choose Work mode and GPT-6 Astra with Medium reasoning. If your current interface differs, choose the equivalent workspace that can create and preview website files. A normal text answer alone is not the finished site.
Next, turn the brief into a build request. Include the page sections, the interaction, the assets it may use, and what should happen on smaller screens. Here is a starter prompt you can adapt. It is a condensed template for this article, not a verbatim copy of the full video prompt.
Starter prompt
Build a responsive one-page website for [business], serving [audience]. The main goal is [action]. Use the attached logo and brand colors. Include [sections]. For the hero, create [specific interaction] with visible controls and a simple mobile fallback. Use only the supplied assets or images I explicitly approve. Do not invent customer reviews, results, prices, or credentials. Keep demo forms and booking buttons clearly labeled until they are connected. Show me a browser preview, explain the project’s hosting requirements, and wait for my approval before deploying.
Attach the visual references when you send the prompt. If the builder asks to install a dependency or connect a service, read the request. Approve the action that belongs to this project. Pause when it asks for access or a purchase you did not intend.
4. Review the first build as a visitor
The first Astraea build produces the planet carousel and the sections described in the brief. Watch how the arrow changes the selected planet and its destination card. That visible relationship matters more than whether the animation looks impressive in a screenshot.
Now check your own hero. Can a visitor understand what the site offers without touching the animation? Can they reach the main button with a keyboard? If the moving scene fails to load, is there still a readable headline and a useful next step? Ask for those fallbacks while the project is small.
Read every section. Replace invented business details, placeholder testimonials, and vague promises. For a real company, the correct service area, contact information, and offer matter more than an extra animation. Keep fictional demonstration content clearly separate from claims you plan to publish.
5. Make focused changes with annotations
You can describe changes in the chat, but pointing to the exact element is often easier. In the video, I select the text panel over an image and ask for 50% transparency. I also ask for stars behind the hero and a straighter phone mockup. Each request names the thing to change and the result I want.
Use that same pattern: “Move this button below the heading on mobile,” or “Increase the contrast of this text panel.” Send a small batch, refresh the preview, and inspect the affected sections. A requested change is not proof that the new version looks or behaves correctly.
Keep a working copy before a major revision. If a change breaks the hero or navigation, restore the previous version and try a smaller instruction. Our website design mistakes guide can help you spot layout problems before adding more effects.
6. Check mobile layouts and the actual clicks
Open the preview in a browser and narrow the window. In the recording, the hero rearranges into a smaller layout and the menu changes. Use that as the beginning of the check, then inspect the whole page. A responsive hero does not prove every tab, form, or gallery fits.
Test on a real phone too. Look for sideways page scrolling, tiny text, controls hidden behind sticky headers, and horizontal tabs that are hard to discover. Try reduced-motion settings and a slower connection. If the 3D feature makes the page difficult to use, ask for a lighter mobile version.
Click every navigation item and confirm it reaches the correct section. This clip shows the one-page navigation moving through the finished design. On your site, check that the section heading remains visible below any fixed header.
Then test the interactions inside those sections. Open and close image overlays, move through galleries, and try the primary call to action. In the video, images open in a lightbox. Your check should also include the close button, Escape key, keyboard focus, and returning to the page.
Forms need a real end-to-end test. Submit one, confirm the intended recipient receives it, and check the success message and error state. A button that opens a pretty panel is not a working inquiry or payment system. Our website launch checklist covers the wider checks.
7. Match the hosting to the project, then deploy
The tutorial uses Hostinger and its connected deployment workflow. Before following those screens, ask the builder to identify the output: static files, a static build from a framework, or an application that requires a server. That answer determines the hosting path. Hostinger’s deployment documentation separates static and Node.js projects.
- Static website: deploy the generated HTML, CSS, JavaScript, and assets, or the completed static build folder.
- Node.js application: use a hosting plan and deployment setup that explicitly supports Node.js, the framework, build command, start command, and required environment variables.
- Existing site: make a backup and use a staging destination first. Confirm what will be replaced before approving a deployment.
Choose your domain and review the current plan, renewal price, and supported deployment options. Don’t assume that a plan name, free-domain offer, or connector screen in the recording is still the same. The beginner hosting guide explains the difference between the domain and the server that holds the website.
Once the correct hosting account and destination are connected, use a specific instruction: “Prepare this website for deployment to [domain]. Show the build output, target site, and any files that will be replaced. After I approve, deploy it and give me the public URL.” Keep private keys in the platform’s protected settings, never in public browser code or a prompt you plan to share.
A browser’s “Not Secure” warning is a launch issue to investigate. Confirm the domain points to the intended host, the SSL certificate is active and valid, and HTTPS works. Waiting for DNS alone does not guarantee that the warning will disappear. Use Hostinger’s secure-connection checks to diagnose the cause.
Open the public URL in a private browser window, without your builder account signed in. Repeat the mobile, navigation, image, and form checks on that exact URL. The preview and the public site are separate states; passing one does not automatically pass the other.
8. Keep the site easy to update
Save the source files, the build instructions, the asset rights, and a note explaining where the site is hosted. Record who owns the domain and how to restore the last working version. If this is for a client, the handoff should let them keep operating without your chat history.
For the next edit, return to the same project, make one change, test it in preview, and deploy after it passes. Recheck the public page afterward. You don’t need to rebuild the entire site every time you change a headline.
If the owner needs frequent drag-and-drop content editing, a custom coded site may not be the right finish. Our AI-to-WordPress workflow covers a different route for an owner who wants WordPress and Elementor.
Frequently Asked Questions
Can GPT-6 Astra build a website without me writing code?
It can create the website files from your brief and help revise them. You still need to choose the content, approve access, inspect the result, connect real services, and test the public site.
Do I need Higgsfield?
No. It is optional in this workflow. Use it if you want its image-generation integration and your plan supports it, or provide your own properly licensed assets.
Do I need Node.js to connect a domain?
No. A domain connects through DNS and hosting settings. Node.js may be required by the project’s build or deployment tools, or by a server-side application; it is not a universal domain requirement.
Is the website in the video a real travel business?
Astraea is a fictional demonstration. Its destinations, imagery, and booking experience show the design workflow. Do not treat demonstration bookings or business claims as a functioning commercial service.
Can I publish the first version immediately?
Publish after checking the content, responsive layout, navigation, accessibility, real forms, hosting destination, and HTTPS. A finished-looking preview can still contain placeholders or disconnected buttons.
Start with the brief and one useful interaction. Once the page communicates the right offer and the important buttons work, polish the details. That gives GPT-6 a clear job and gives you a website you can maintain after the first build.