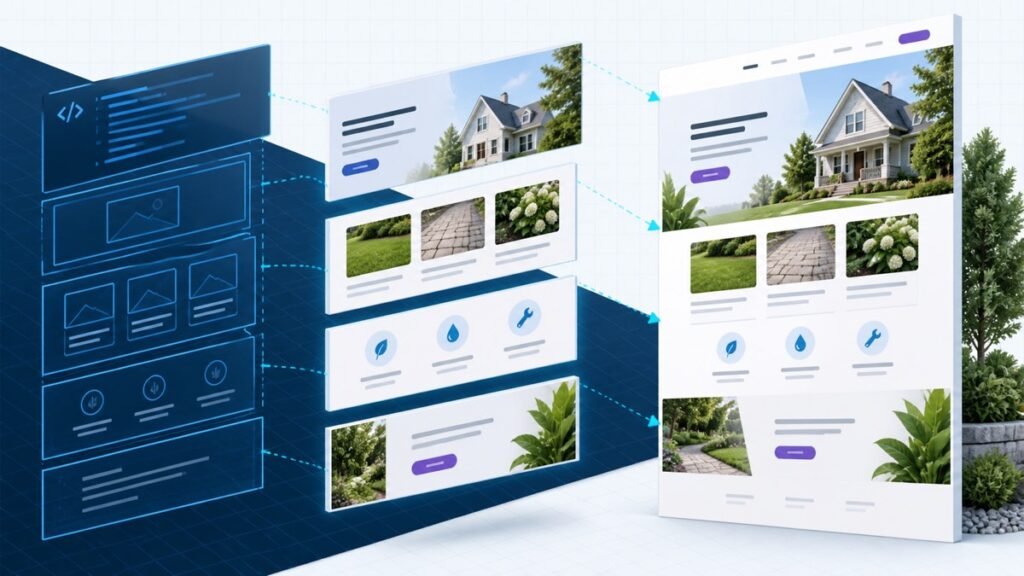
Claude Code can build the first version of a custom website, but WordPress is still the better home when a client needs familiar editing, forms, plugins, and an admin dashboard. The useful workflow is not choosing one or the other. It is using Claude to solve the blank-page problem, then moving the approved design into WordPress.
Quick answer: Build a clear design reference with Claude Code, install WordPress on your host, import the design with your preferred workflow, and finish the editable sections in Elementor. Test navigation, forms, and mobile layouts before launch.
This video follows the whole hybrid process on a real electrician website:
Why use Claude and WordPress together?
Claude is fast at producing a custom visual direction from a detailed prompt. WordPress is good at the boring, essential jobs that arrive after the first design: user accounts, page editing, contact forms, search, backups, and plugin support.
| Job | Best tool in this workflow | Reason |
|---|---|---|
| Initial custom layout | Claude Code | Fast iteration from a written brief |
| Content editing | WordPress | Familiar dashboard for the site owner |
| Visual adjustments | Elementor | Drag-and-drop control after handoff |
| Forms and plugins | WordPress | Mature integrations and maintenance tools |
The division matters. If you hand a local code project to a nontechnical client, every tiny copy change comes back to you. If you start in a generic WordPress template, the site can look like everyone else's. The hybrid route gives you a stronger starting design and a practical handoff.
1. Start with a real website brief
The brief in the walkthrough names the business, pages, services, visual direction, and conversion goal before Claude writes code.
Before opening Claude, write down the business, audience, pages, primary call to action, brand colors, and proof the visitor needs to see. For the electrician site in the walkthrough, the important pieces are service area, licensing, emergency availability, reviews, and a quote request. That is much more useful than “make a modern electrician website.”
- Business goal: the one action a visitor should take.
- Page structure: home, services, about, contact, and any local pages.
- Visual direction: colors, typography, examples, and what to avoid.
- Trust: reviews, credentials, guarantees, and real photos.
- Technical needs: forms, analytics, SEO fields, and future editing.
Keep the first prompt focused on structure and visual direction. You can refine individual sections after the page exists.
2. Build and review the coded concept
Keep the instructions beside the live preview. You should be able to connect every visible section to a requirement in the brief.
Give Claude Code the brief and let it create a local project. Review the result in a browser, not in a wall of code. Check the headline, service hierarchy, buttons, spacing, and mobile layout. Ask for one specific change at a time so you can see what each revision actually fixed.
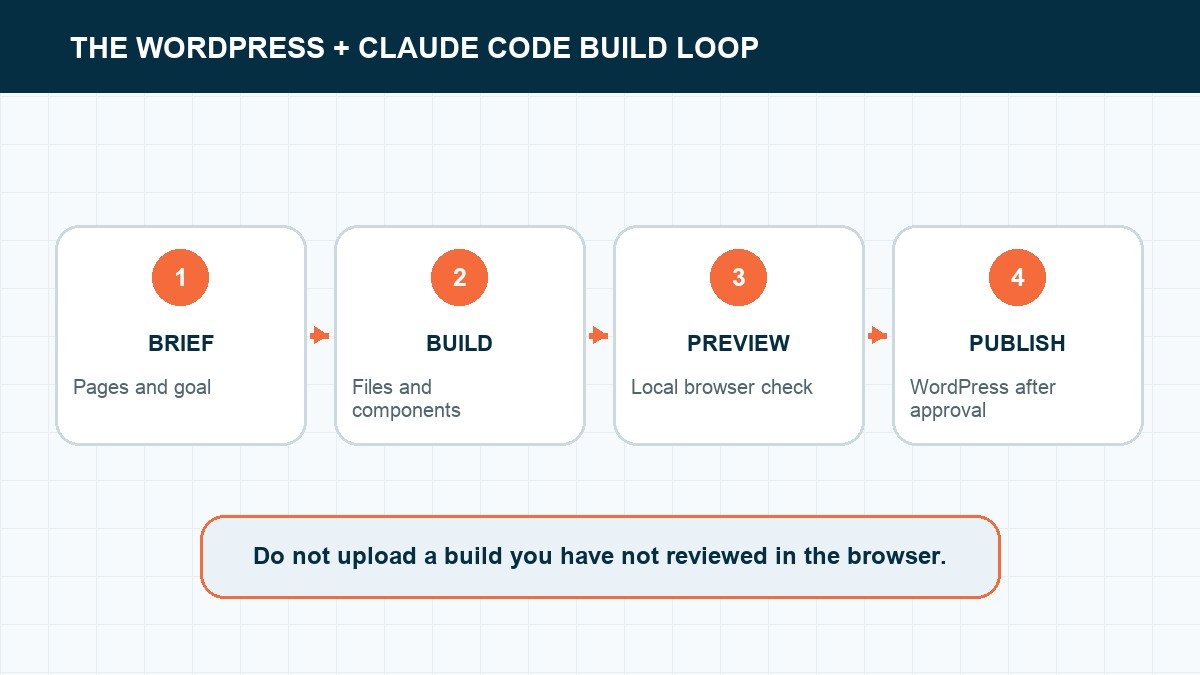
Do not treat the first polished hero as a finished website. Click every link, shrink the browser, and read the copy out loud. AI can make a convincing surface while leaving dead buttons and placeholder claims underneath it.
3. Install WordPress before the handoff
Claude can prepare the stack, but you still confirm the host, database, administrator, SSL, and recovery path yourself.
Set up WordPress with your host, create a unique administrator password, and confirm the domain and SSL settings. Then install the theme and builder you plan to maintain. In the walkthrough, Elementor provides the visual editing layer the site owner will recognize later.
If this is your first WordPress build, follow our WordPress tutorial for beginners before attempting the AI handoff. Knowing where pages, themes, plugins, and menus live makes the conversion much easier to troubleshoot.
4. Rebuild the approved design as editable sections
The last mile happens in WordPress. Replace temporary assets and make sure the client can change content without reopening the code project.
Use the Claude version as the source of truth for layout, colors, and visual rhythm. Recreate the hero, services, proof, and contact sections in WordPress. Keep repeating elements as reusable styles or templates rather than rebuilding every card by hand.
The goal is not a pixel-for-pixel screenshot. The goal is an editable site that preserves the design decisions. A headline should remain a real heading. A button should remain a real link. Service cards should be easy to update without opening a code editor.
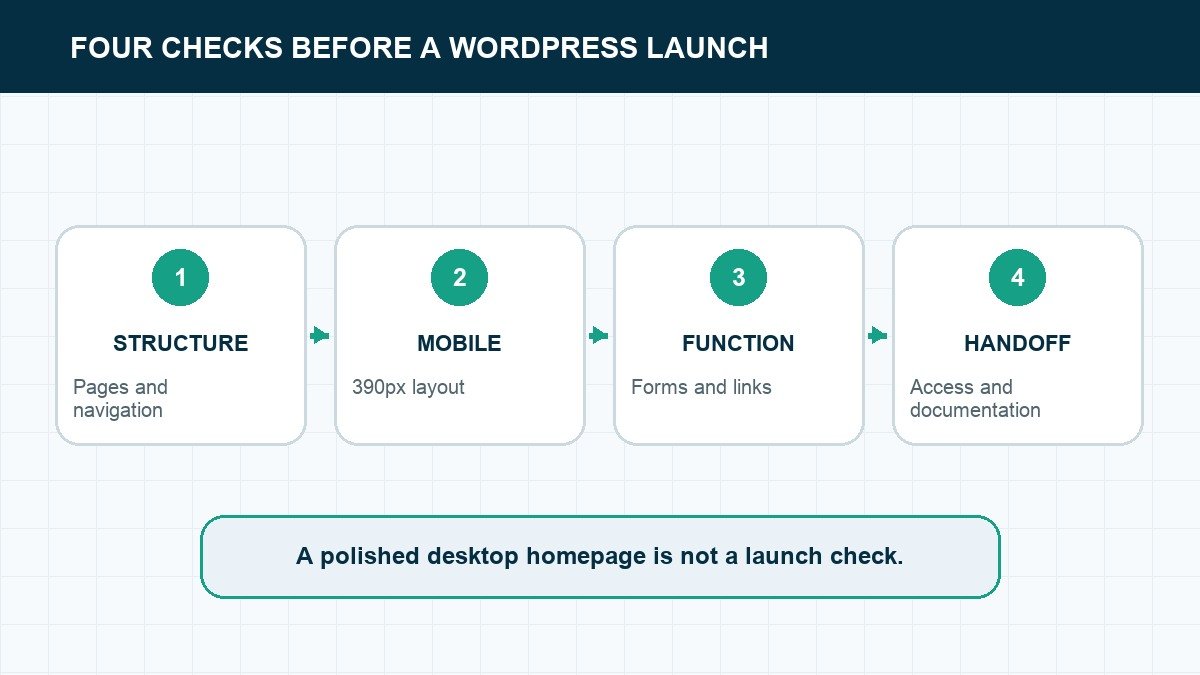
5. Run the handoff checklist
- Navigation: every desktop and mobile menu item reaches the right page.
- Forms: a test submission reaches the correct inbox.
- Responsive layout: no horizontal scrolling at phone width.
- Performance: images are compressed and unnecessary scripts are removed.
- Editing: the owner can change text and images without breaking the layout.
- Recovery: backups and update responsibilities are documented.
That final editing test is what separates a demo from a client-ready WordPress website.
Choose the right conversion path
There is no universal “import this coded page into Elementor” button that preserves every layout, interaction, and responsive rule. Decide how the final site will be maintained before you build the prototype.
- Rebuild in Elementor: best when a nontechnical owner needs to edit most sections visually.
- Create a custom WordPress theme: best when the coded design and performance matter more than drag-and-drop editing.
- Use custom blocks: best when editors need structured components without free-form layout control.
- Publish as a static site: best when there is no WordPress requirement and content changes are rare.
Do not promise a one-click handoff before testing the exact route. A prototype can use React components, animation libraries, or local assets that do not map cleanly to the production WordPress stack.
Protect the production site
Build and test away from the live site. Use a local WordPress install or staging environment, keep a restorable backup, and record every plugin or code change. Never give an AI coding tool unrestricted production credentials just because the design looked correct in a browser preview.
Before launch, scan the project for placeholder copy, exposed keys, test accounts, unused dependencies, and forms that still point to a developer address. Then test the final WordPress page itself. A perfect local prototype does not prove that caching, plugins, the theme, and the live hosting environment will behave the same way.
Make the site editable without making it fragile
Give the owner clear editing boundaries. Brand colors and type should live in global settings. Repeating services, testimonials, and calls to action should use reusable components. Content fields should describe what the editor is changing instead of exposing layout code.
Record a short handoff video that shows how to edit a page, replace an image, review form entries, update plugins, and restore a backup. The website is not finished when it leaves your laptop. It is finished when the next person can operate it safely.
Before handoff, set up the recovery process in our WordPress backup guide and make sure the owner can reach it without your developer account.
Turn the prototype into a production plan
A coded preview is a design decision, not a deployment plan. Before rebuilding anything, mark each section as static, editable, repeatable, or connected to outside data. A service card that appears once can be ordinary page content. A service card that appears on ten location pages should become a reusable pattern or structured field. A testimonial fed from a third-party tool needs a failure state. This mapping prevents a beautiful prototype from turning into a pile of one-off fixes.
Decide who owns each layer after launch. The host owns the server. WordPress owns content and user accounts. The theme or builder owns layout. Plugins own forms, SEO fields, caching, and backups. Custom code owns anything those tools cannot express. Put that map in the handoff so the client knows where a change belongs and so the next developer is not reverse-engineering the site from screenshots.
Use our professional website design guide to check hierarchy, spacing, typography, and calls to action before rebuilding the concept. Then choose the smallest plugin stack that can support the approved behavior; our WordPress plugin guide is the place to start.
Run three different QA passes
First, test the design. Compare the WordPress page with the approved concept at desktop, tablet, and phone widths. Check line wrapping, button hierarchy, image crops, and the order in which proof appears. The goal is not a pixel-perfect copy. It is preserving the decisions the client approved.
Second, test the behavior. Submit every form, open every menu, follow every button, search the site, and test any gated download. Confirm where form entries are stored and which inbox receives the notification. Repeat the test in a private browser window so an administrator session does not hide a permission problem.
Third, test the operating system. Create a backup, update one noncritical plugin, publish a small content change, and restore a page revision. Check analytics and search settings with the production domain. A client-ready site needs to survive ordinary ownership, not just launch day.
Do not hand over a mystery
Remove local-only dependencies, test credentials, placeholder claims, unused packages, and assets the client does not have permission to use. Record the domain registrar, host, WordPress administrators, paid licenses, backup location, analytics property, form destination, and renewal owner. Never place passwords inside the handoff document; use the client's approved password manager.
Finish with a short screen recording of the tasks the owner will actually perform: edit a page, replace an image, review a form submission, add a user, and restore a revision. The strongest handoff is boring in the best way. The client knows what they own, what they can change, and who is responsible when something breaks.
Use a stop rule for revisions
Define “done” before the first AI revision. The page should match the approved brief, preserve the approved visual direction, work at the target breakpoints, use real content and assets, and pass the behavior and ownership tests above. Once those conditions pass, a revision needs a new defect, new evidence, or a deliberate scope change. “Try another version” is not a useful acceptance test.
This keeps speed from turning into churn. Claude makes another variation cheap, but comparing endless variations still costs attention. Lock decisions as they pass, keep a short issue list for defects, and move optional ideas into a later improvement queue.
Include accessibility in the stop rule. A keyboard user should reach every control, focus should remain visible, headings should describe the page in order, images should carry useful alternatives, and motion should respect the visitor's reduced-motion setting. Those checks belong to the working WordPress build, not the visual prototype.
Frequently asked questions
Frequently Asked Questions
Can Claude Code build WordPress themes?
Yes, it can help create theme files and custom code. Beginners will usually have an easier handoff by using Claude for the design concept and WordPress plus Elementor for the editable production build.
Do I need to know code?
You need enough technical comfort to review files, run the local project, and recover when a command fails. The WordPress editing portion can remain visual.
Why not publish the Claude site directly?
You can for a simple static project. WordPress becomes useful when the owner needs a dashboard, blog, forms, plugins, and ongoing content changes.
Use AI for the head start, not the final sign-off
Claude Code can get you past the empty canvas in minutes. WordPress turns that concept into something a real owner can edit and maintain. Keep those jobs separate, and the workflow becomes faster without leaving the client with a fragile black box.